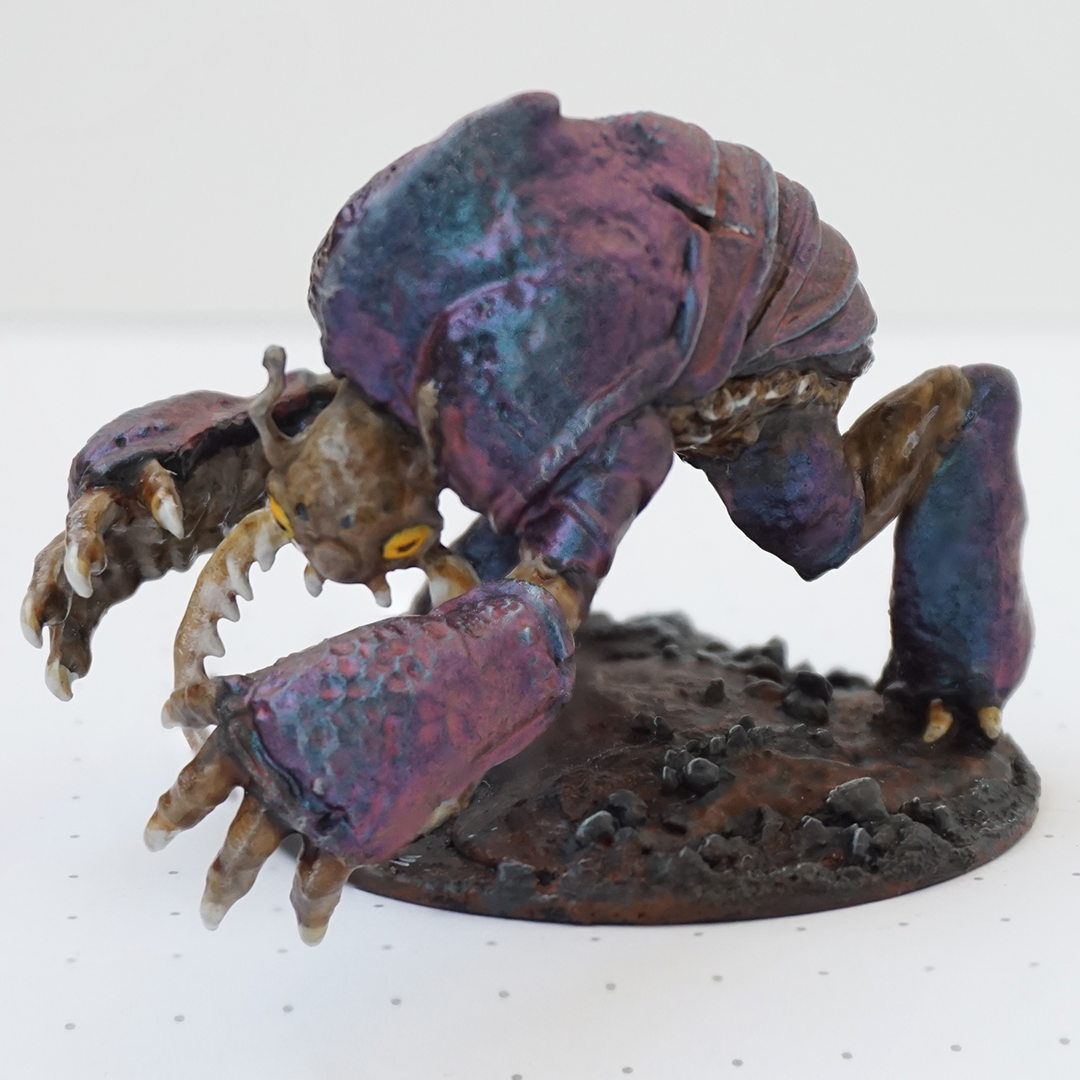
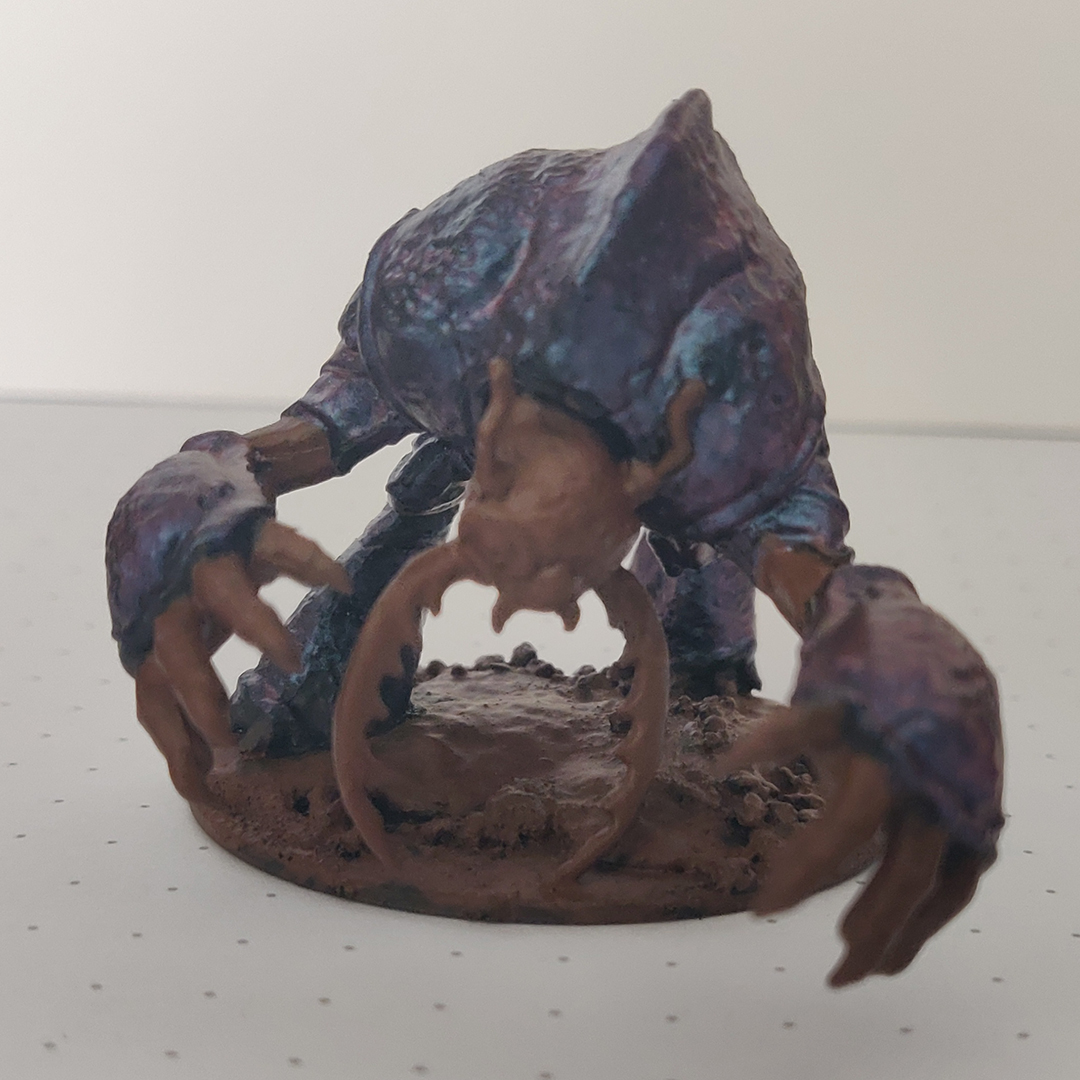
Umber Hulk from WizKids
I’ll be honest, I just wanted an excuse to paint something bug-like with some “chameleon” paints from Green Stuff World and an Umber Hulk seemed like the perfect opportunity.
This color scheme definitely isn’t canon, but I’m calling this an Abyssal Umber Hulk in order to justify the new look.
Steps
Step 1 - Assembly, basing and priming
Assembled the miniature with a touch of super glue at the joins, then glued it to the base.
Removed mold lines with a file, careful not to remove details where they overlap with the mold lines. Filing away the mold lines removed some of the gray primer, but that’s not an issue since I was planning to prime black anyway.
Based the miniature using kitty litter, baking soda and super-glue (gel form). Used an old brush to dust off the base, removing loose pieces of kitty litter and excess baking soda.
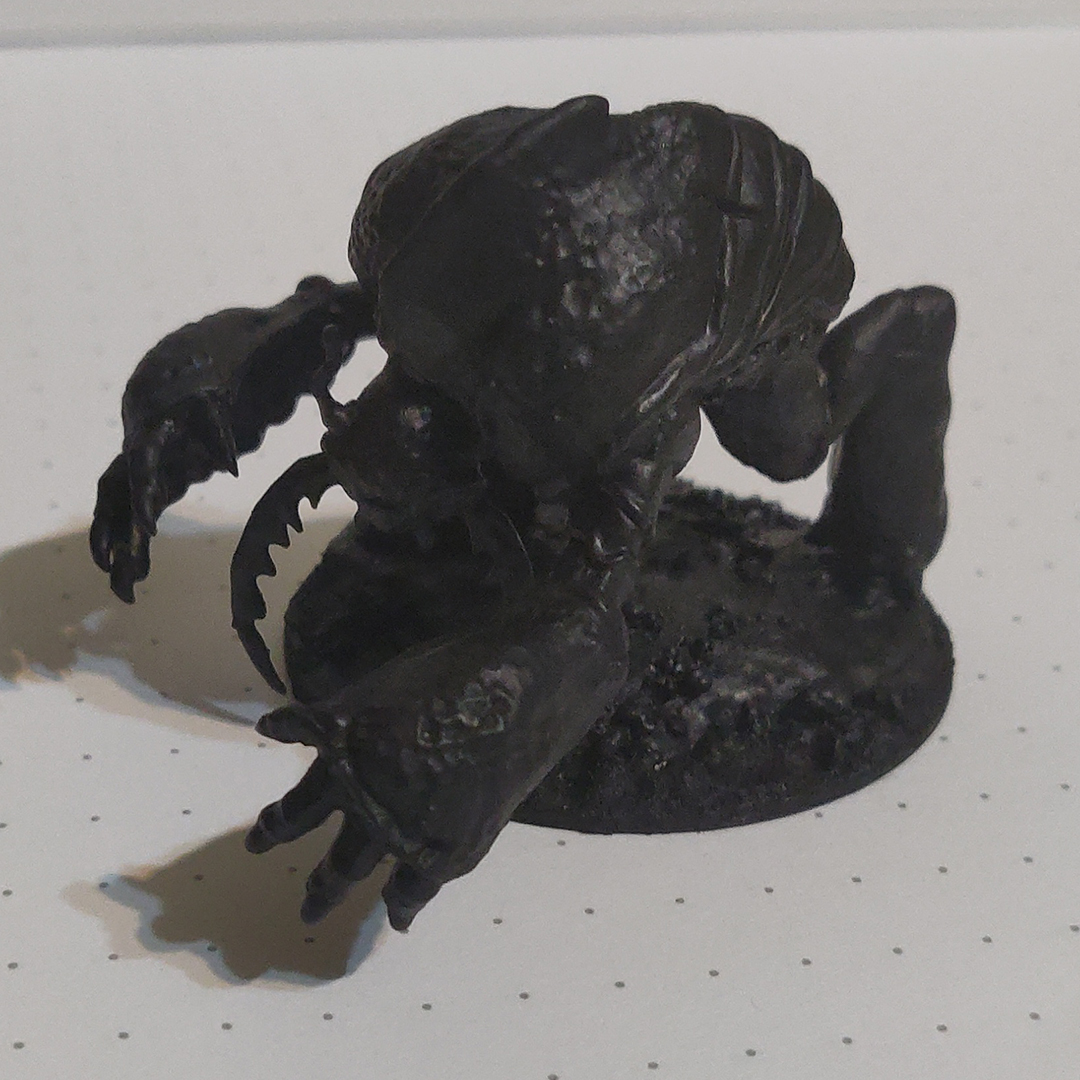
Primed the miniature using two layers of Abaddon Black on everything, including the base.
Step 2 - Chameleon paint
Applied a layer of ‘ardcoat on the “armor” parts of the miniature in preparation for the chameleon paint. That created a nice contrast in motion already, since you could differentiate between the glossy armor and matt fleshy bits.
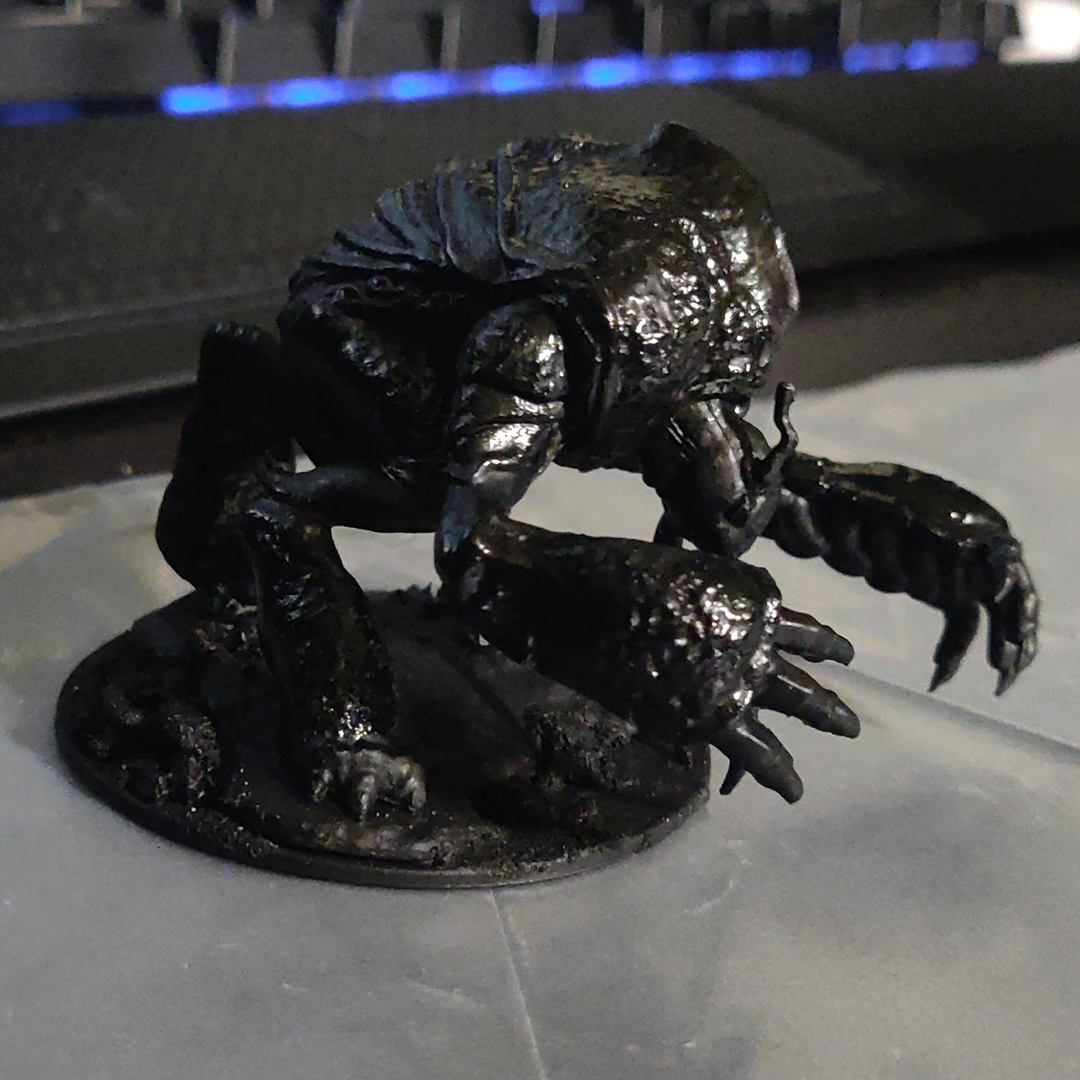
Applied two layers of Chameleon Darth Blue paint from Green Stuff World.
Step 3 - Flesh & ground
Started working on the flesh by applying two layers of Mournfang Brown to all non-armor bits and the ground.
Applied one layer of Rakarth Flesh to the flesh (but not the ground).
At this point I was a bit pessimistic, so it was time to start creating some contrast using a coat of Seraphim Sepia.
Continued working on the ground while the Sepia dried by applying Eshin Grey on all of the boulders on the ground.
Once everything had tried I applied a coat of Nuln Oil to all of the flesh and ground.
Step 4 - Finishing the flesh
Added some lighter highlights to the flesh by applying a diluted layer of Rakarth Flesh in some areas, then started working on the nails and horns by base-coating them in Ulthuan Grey.
Once dried I applied another layer of Seraphim Sepia on the skin, but selectively, focusing on the Rakarth Flesh highlights and the joins near the armor.
Once the wash was fully dried I edge highlighted the nails and horns with Ulthuan Grey.
Step 5 - Final touches
Dry-brushed the base with Ulthuan Grey in order to create a lot of contrast, especially on the boulders.
Next up - dry-brushed the armor with Calgar Blue (two light layers) in order to introduce some color variation and highlights for the armor.
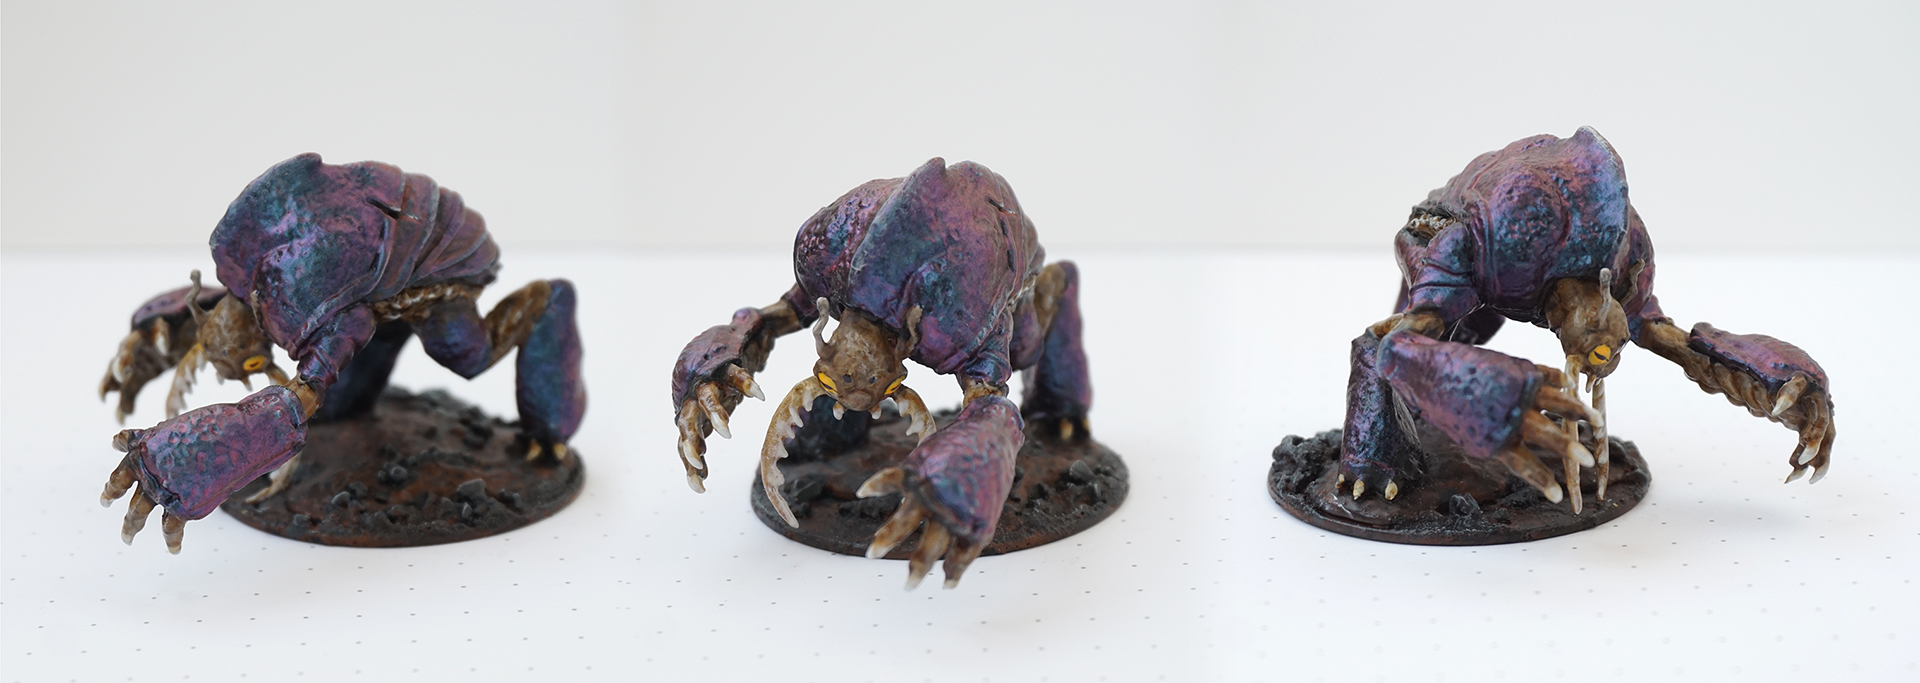
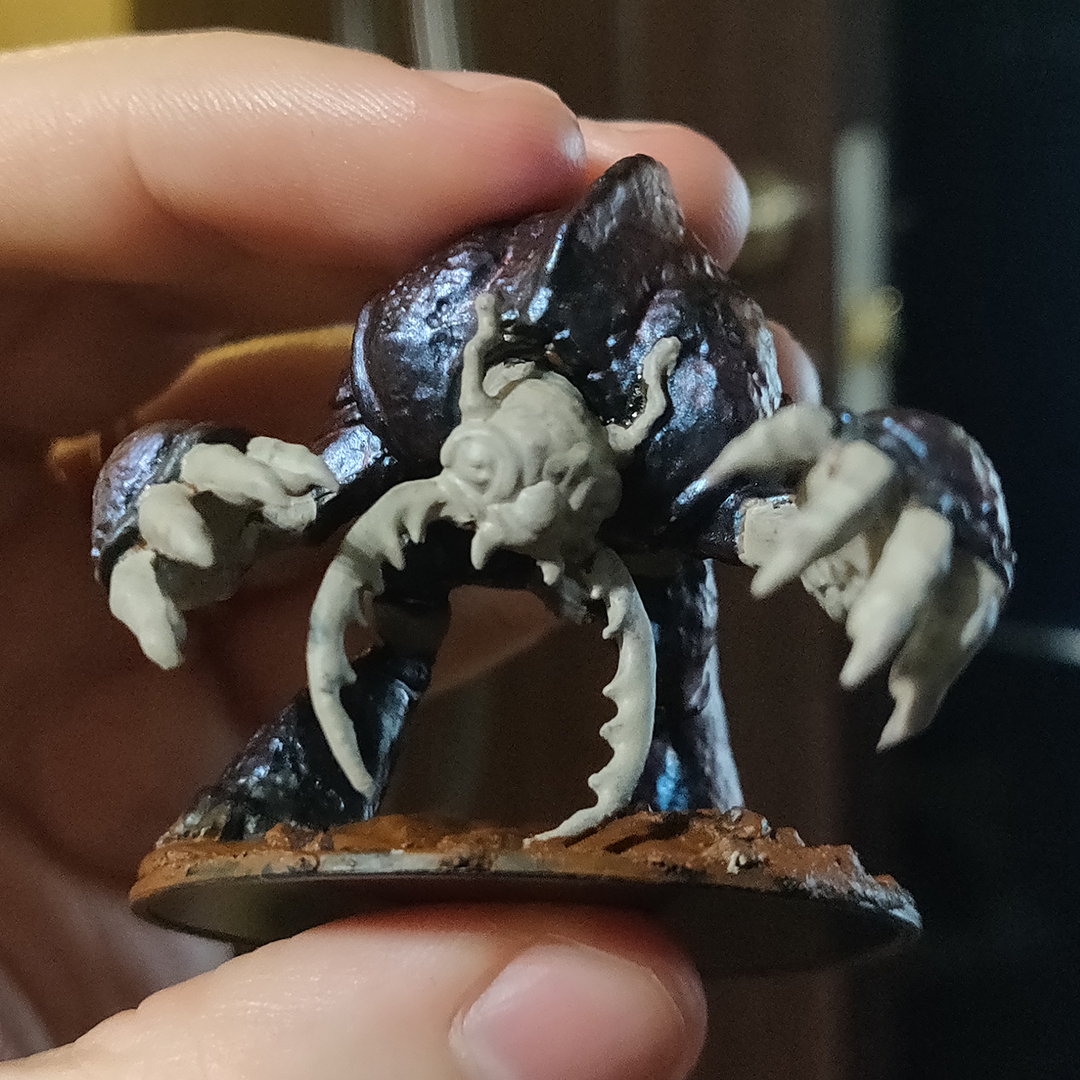
Finally, the part that made me the most nervous - applied two layers of Yriel Yellow to the eyes, then drew very thin horizontal lines in the eyes with Abaddon Black for the “pupils”.
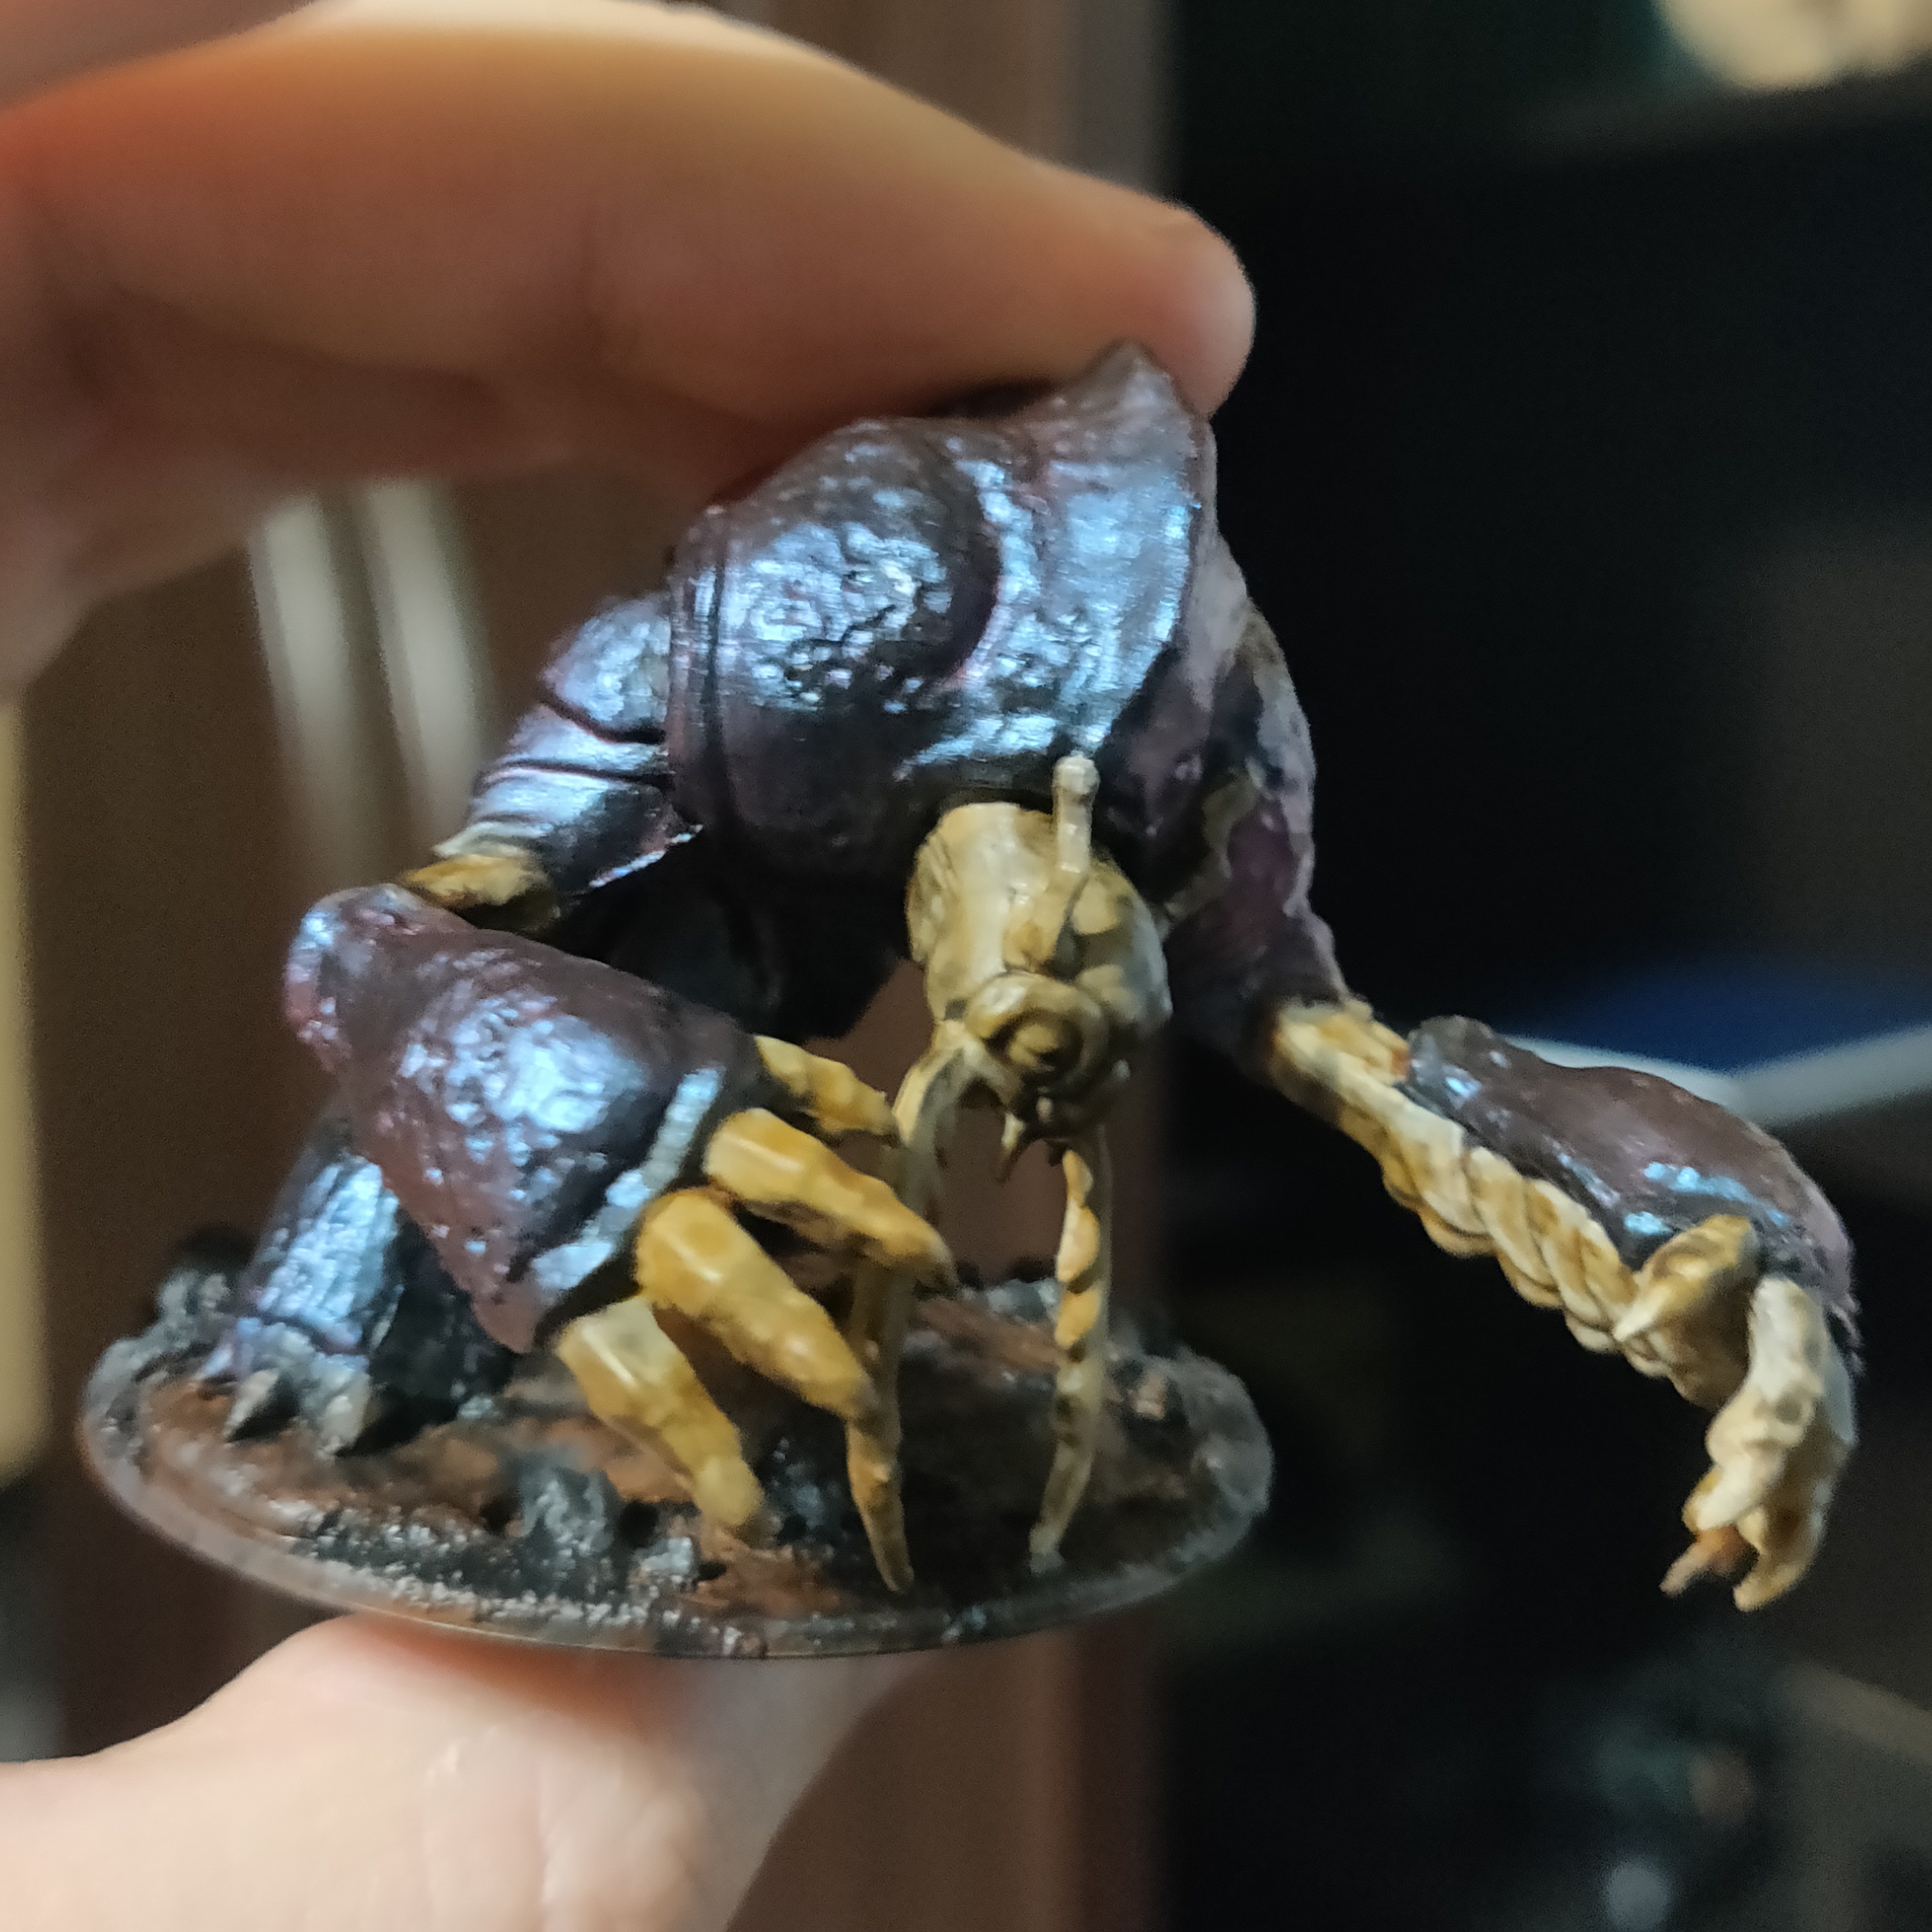
Applied a layer of ‘ardcoat on the horns, nails and flesh in order to give it a “wet” appearance. Even though the armor was initially glossy, it was now matt in comparison to the flesh.
Finally, applied a dry-brush of Rakarth Flesh on the skin, then a dry-brush of White Scar on the armor and skin, but only for the most pronounced areas of highlight.