Warhammer 40K Primaris Reivers
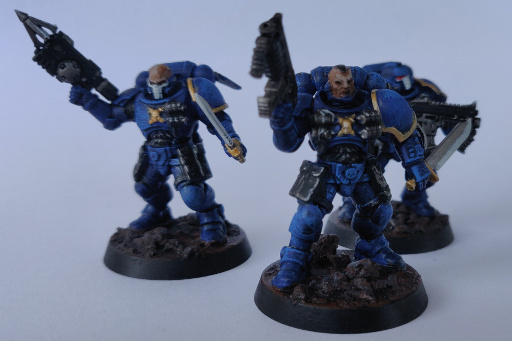
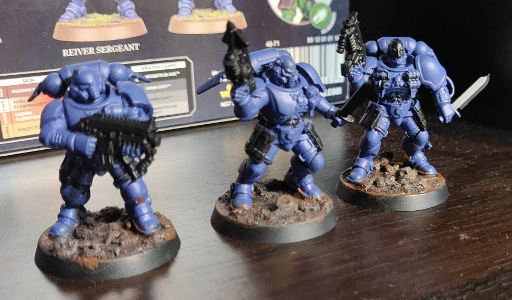
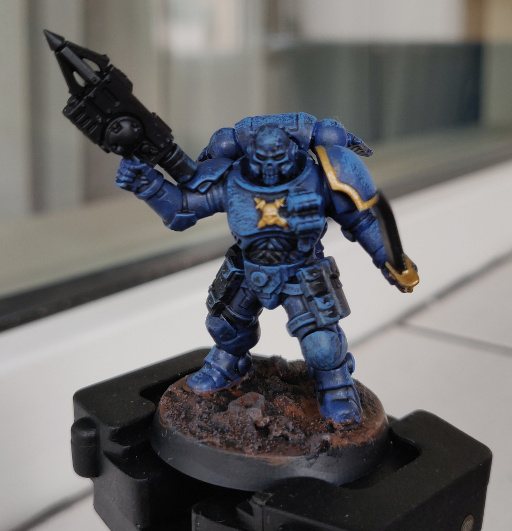
This is a log of the steps I took to paint my second set of miniatures. The end-result looks like this:
Steps
Step 1 - Assembly & gun barrels
Fully assembled 3 out of 10 miniatures according to instructions booklet.

Drilled holes in gun barrels using a heated needle for the initial hole, then a hand drill with the smallest drill size to drill the actual hole. Unfortunately, none of the holes was actually correctly centered with the barrel.

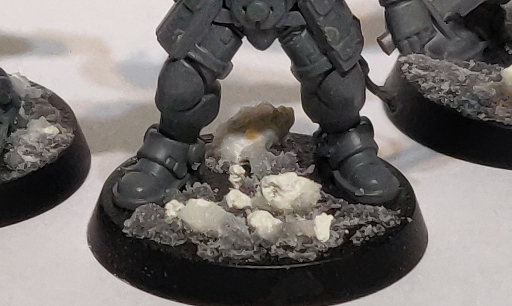
Step 2 - Basing
Based the miniatures with cat litter for the larger stones, surrounded by a superglue and baking soda mix (the baking soda acts as a catalyst, instantly hardening the glue).

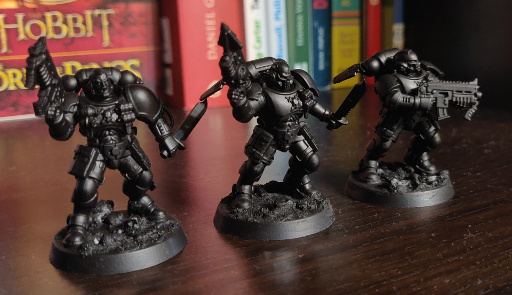
Step 3 - Priming
Primed the miniatures with two layers of Abaddon Black, including the base. The base required extra attention in order to get the black into all of the cracks and crevaces.
Step 4 - Armor Base Coat
Applied two thin coats of Macragge Blue on all of the armor pieces. Wasn’t too careful with not getting this over the black areas (pouch, weapon, under-armor etc.), since I can fix this later on.
Step 5 - Base paint & wash
Applied one thin coat of Mornfang Brown on the base. Some of it got on the armor and rim of the base, since I used a large brush, but that can be corrected later.
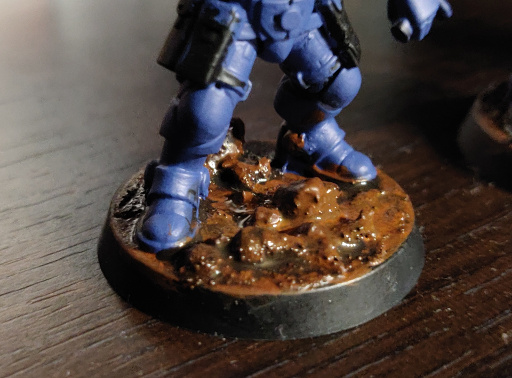
Then, when the paint was almost dried (after 3-4 minutes of applying it, when most of the paint was dried and matte, except a few spots where it still looked shiny and wet), applied one coat of Nuln Oil, directly from the pot. The wash dissolved and mixed with some of the still-wet brown.
While wet, the base looked like this:
Step 6 - Base dry-brush
After the base was completely dry, I dry-brushed the base using Eshin Gray.
Step 7 - Armor clean-up
Cleaned up the armor using a single layer of Macragge Blue. Wasn’t very concerned with the soles of the feet, which can stay dirty. Got a couple of spots of blue on the terrain, which I fixed using Mornfang Brown.
Step 8 - Armor wash
Applied a wash of Nuln Oil all over the model, while avoiding getting any more on the base.
Step 9 - Armor dry-brush
Applied a dry-brush of Calgar Blue all over the armor.
Step 10 - Gold details
Painted the gold details (chest decoration, shoulderpad rim, sword handle) with two layers of Liberator Gold (without thinning the paint as much as usual).
Corrected any mistakes using Macragge Blue (though there weren’t many, since I tried to apply the gold carefully) in a single layer.
Step 11 - Skin
Base-coated the skin areas using two layers of Mornfang Brown, while avoiding the hair, head implants and armor around the neck.
Added a single layer of Rakarth Flesh, which is very pale. Then, with the paint still wet, got some Mornfang Brown on the brush, dipped in in water, wiped it once against a paper towel, then applied it to areas that I wanted to be more shadowed or less pale (such as around the implants). Applying the paint felt like a mix between a wash and wet blending.
In addition to the skin, I used Rakarth Flesh to paint the sigils and eye sockets of the helmets.
Step 12 - Black details
Applied a coat of black for various elements, such as the base edge, weapons, under-armor joints, hair, grenades, joins of the grav-chutes and all of the belts and pouches.
Step 13 - Silver details
Painted silver details using Leadbelcher: parts of the rifles, swords, grenades, details on the masks, skin implants and joints of the grav-chutes. Edge-highlighted pouches and under-armor joints, without being too clean about following the edges since a dark wash will go over it.
Step 14 - Nuln oil wash
Applied Nuln Oil over all of the silver details, as well as the ribbon.
Step 15 - White details
Applied a layer of Ulthuan Gray on certain details such as the sword edge, highlights on grenades and the rifles, as well as the skull masks.
Step 16 - Red details
Applied a layer of Mephiston Red on the wax and eye sockets.