Getting into Warhammer 40K Miniature Painting
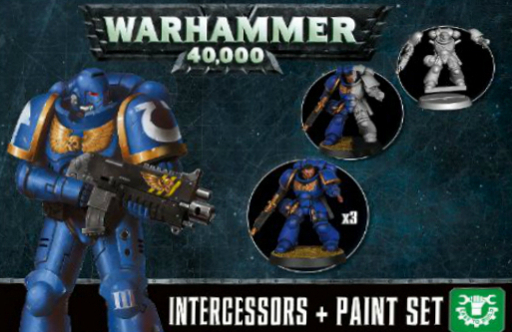
I decided to try my hand at miniature painting, partly because it sounded relaxing and partly because the end result looked cool (who doesn’t like collectibles?). First off, I bought the Warhammer 40K: Intercessors + Paint Set, which came with three miniatures, six different paints and a Starter brush. I already had some Citadel clippers purchased some time ago, so I was absolutely ready to go.
The first step was, naturally, to procrastinate for a couple of months or so, watching videos on Tabletop Minions or the tutorial video from Games Workshop. I learned a lot about miniature painting, some of it extremely useful:
- there’s this thing called a wet palette - it’s easy to build and it helps prevent paint from drying too quickly;
- most paints can’t be used straight from the bottle, they need to be thinned with a bit of water;
- there are a bunch of different types of paints - bases (regular paints, basically), washes (really thin paints that are supposed to accumulate around details, creating contrast), technical paints (such as paints that crack up when they dry, imitating cracked earth) and more;
- miniatures are generally photographed in a white box - essentially a white box (shocking, I know) that lets diffuse light in through the sides, generally getting rid of hard shadows and helping the viewer focus on the miniature itself;
- the official tutorial has a slightly different process of assembling miniatures and some of the paints are different (such as no white paint for the shoulderpads), but it’s still useful.
After I was done learning what I could, I set up a primitive white box and assembled all three miniatures:

At this point, I started only focusing on painting one miniature, then using any lessons I learn on the other two. First, priming the miniature with two layers of black (priming is the first layer of paint on top of the plastic):
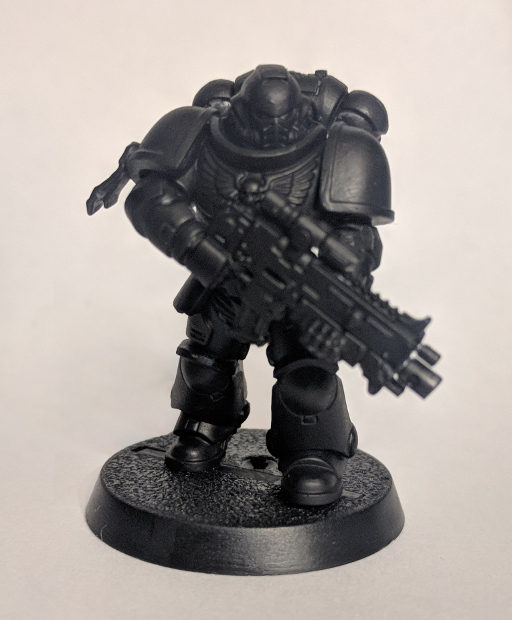
Apparently my older set camed with an Imperial Primer paint which has since been taken out of production and replaced with something of higher quality. Meh… looks good to me! After this first priming, I added two layers of blue to everything but the gun, then came back and painted some of the details in black (such as armor at the back of the knee, the grenade at his waist etc.).
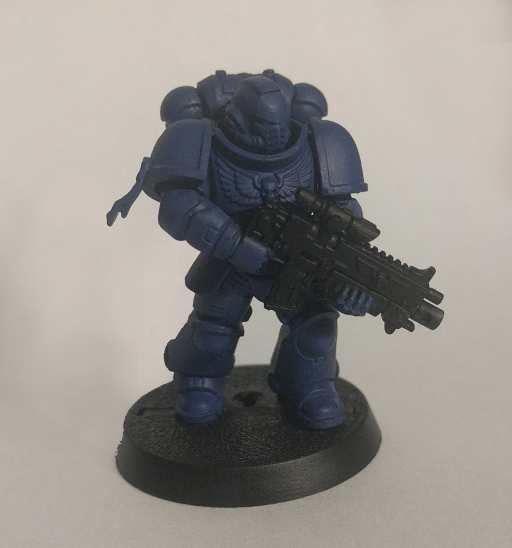
After getting all of the black and blue where I wanted them, it was time for the nerve-wracking process of painting all of the golden details:
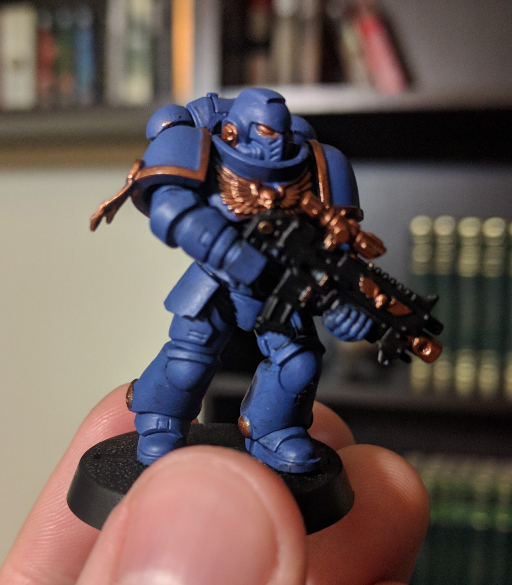
Finally, added a wash over the gold details and painted the base with the technical paint provided in the box. The ground ended up looking like mud rather than cracked earth:
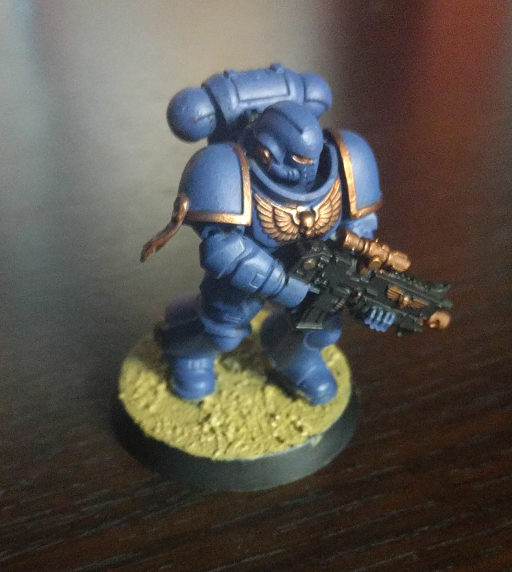
That’s it!
I’m pretty happy with the results, so I’ll be painting the other two in the exact same way. Once these are done, the next miniature will probably include some of the techniques that I’ve learned but not yet applied (dry-brushing and edge highlights), as well as hopefully less-blurry photos.